Guide on Installation and Configuration of Tailwind CSS
Published on March 23, 2023
Introduction
Tailwind CSS is a utility-first CSS framework for rapid, responsive web development.Its goal is to help you build scalable and maintainable applications with as little custom code as possible. The framework contains a number of easy-to-use and beneficial features, such as modular build tooling, browser compatibility flags, Sass support, and prebuilt mixins. I'll demonstrate you the basics of getting started with Tailwind CSS for your upcoming project in this article!
Prerequisite Knowledge
To follow this you should have a basic understanding of HTML and CSS.
Software Requirements
You need only 2 things. First one is a web browser, you can use Google Chrome, Edge, Firefox or any other browser. Second one is a code editor, you can use VSCode, Sublime text, Atom or any other as well. For this guide I have used VSCode as it supports a few extenstions that will make the progress easier. The extensions used here are :
Getting Started
Tailwind CSS can be installed using multiple methods such as:
- Using Tailwind CLI
- Using PostCSS
- Using Framework Guides
- Using Play CDN
In this guide you will learn how to install it using Tailwind CLI. For that the very first step is to create a folder, you can name it whatever you want. For this guide the name of folder is tailwindCSS.
After you have succesfully created an empty folder, open the folder in your code editor( This guide used VSCode as specified in the Software Requirements section).
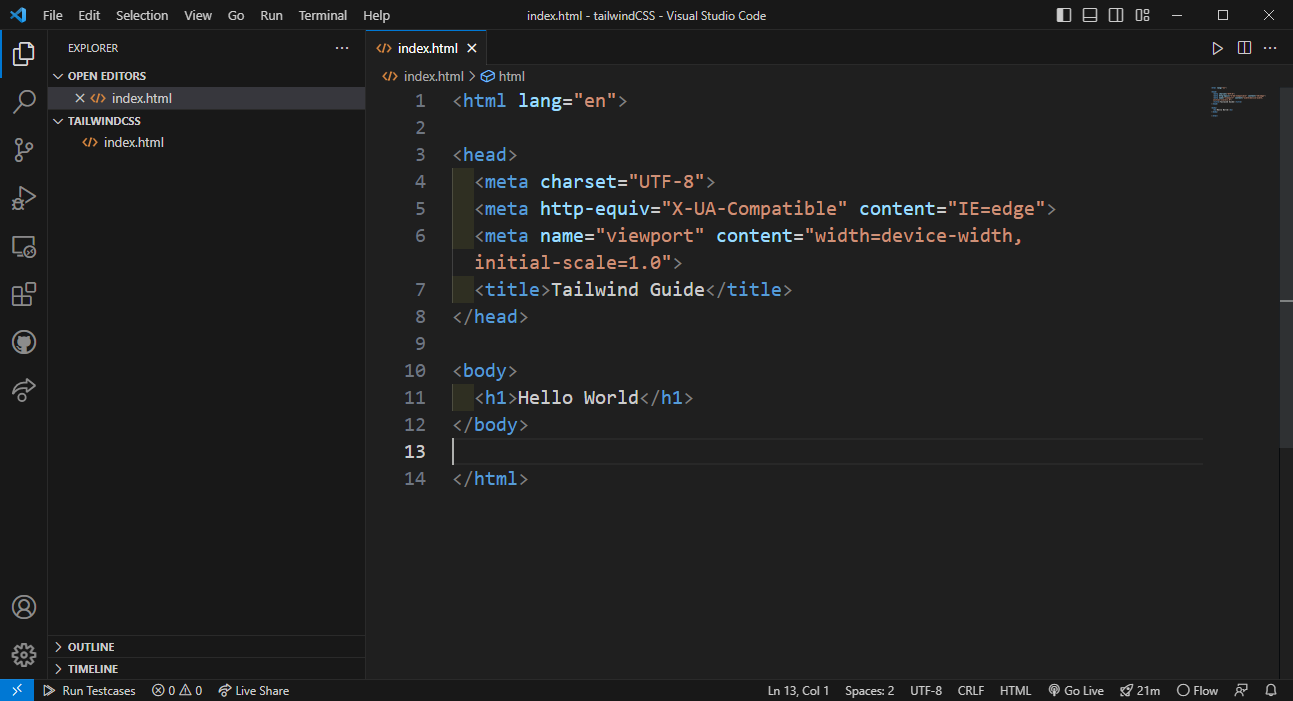
Now create a new HTML file Again, you can name it whatever you want. For this guide the name of folder is index.html. You only need a simple HTML document, an example of that is given below.
<!DOCTYPE html>
<html lang="en">
<head>
    <meta charset="UTF-8">
    <meta http-equiv="X-UA-Compatible" content="IE=edge">
    <meta name="viewport" content="width=device-width, initial-scale=1.0">
    <title>Tailwind Guide</title>
</head>
<body>
    <h1>Hello World</h1>
</body>
</html>
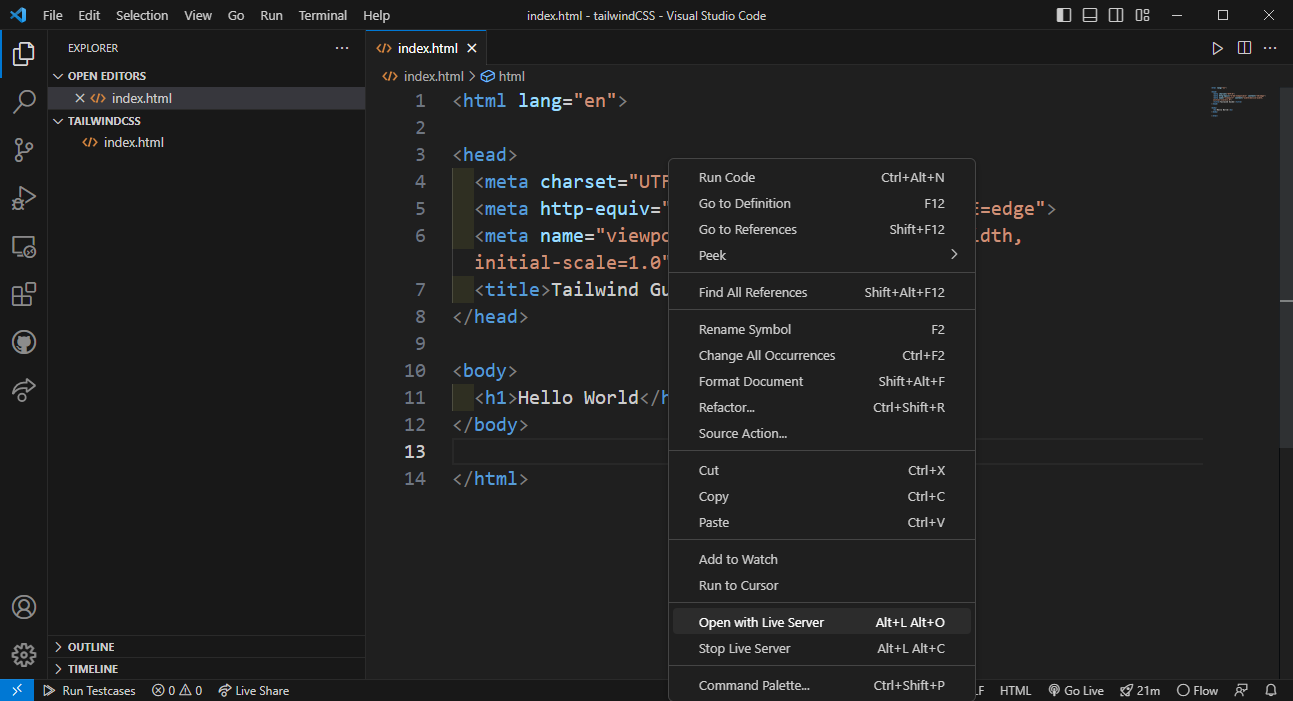
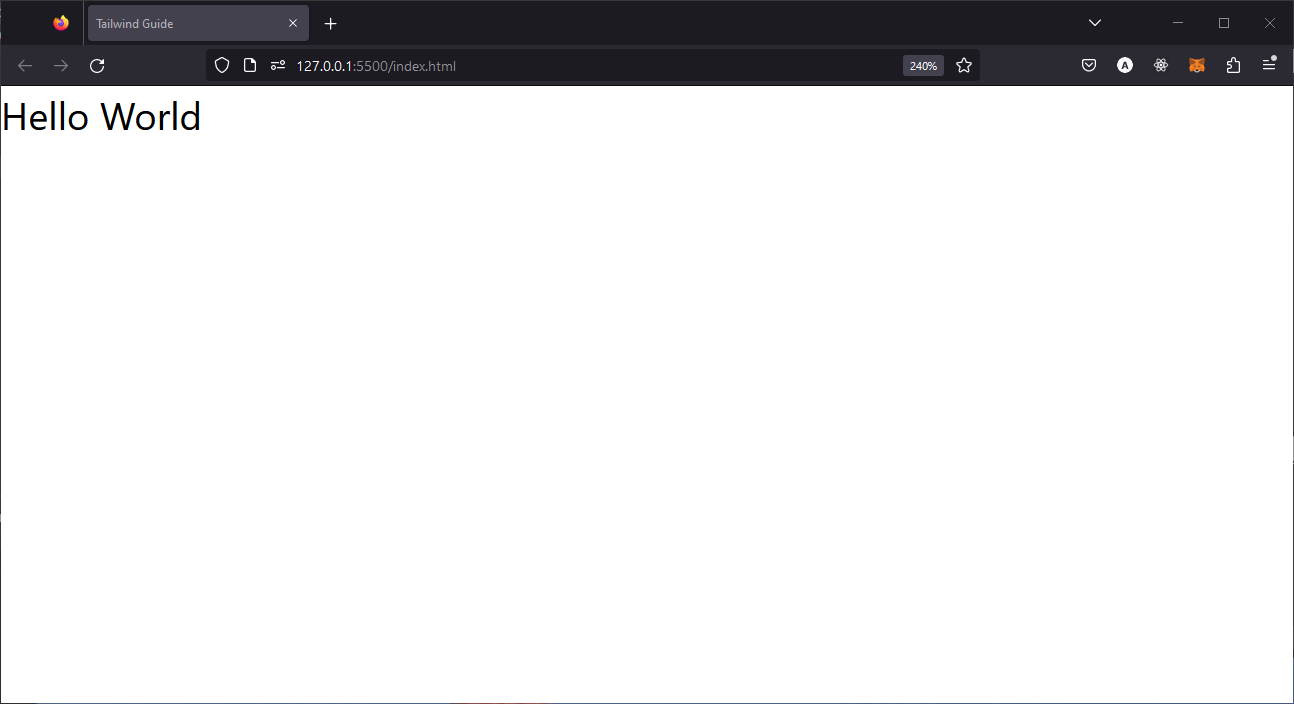
Right click on the HTML Document and Click on Open With Live Server. This will open the document on your default browser.
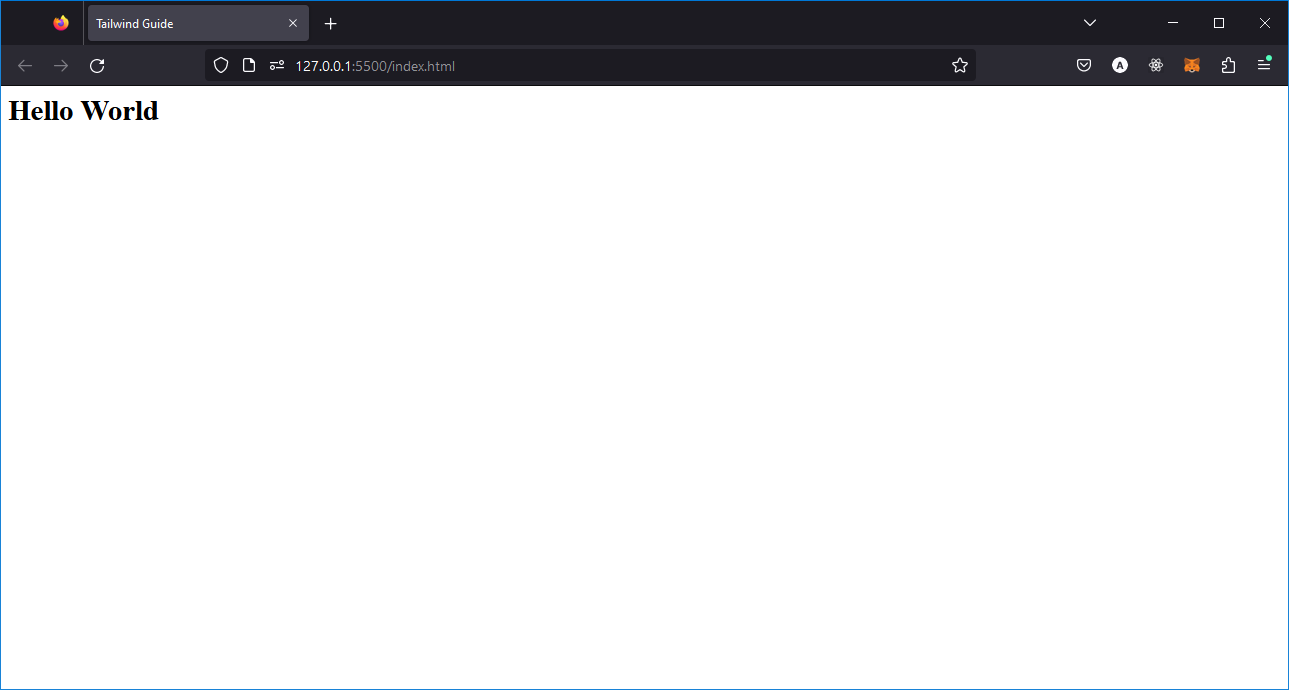
After clicking on live server the document will be displayed. If you used the same HTML code specified above, it will look like this :
Install Tailwind
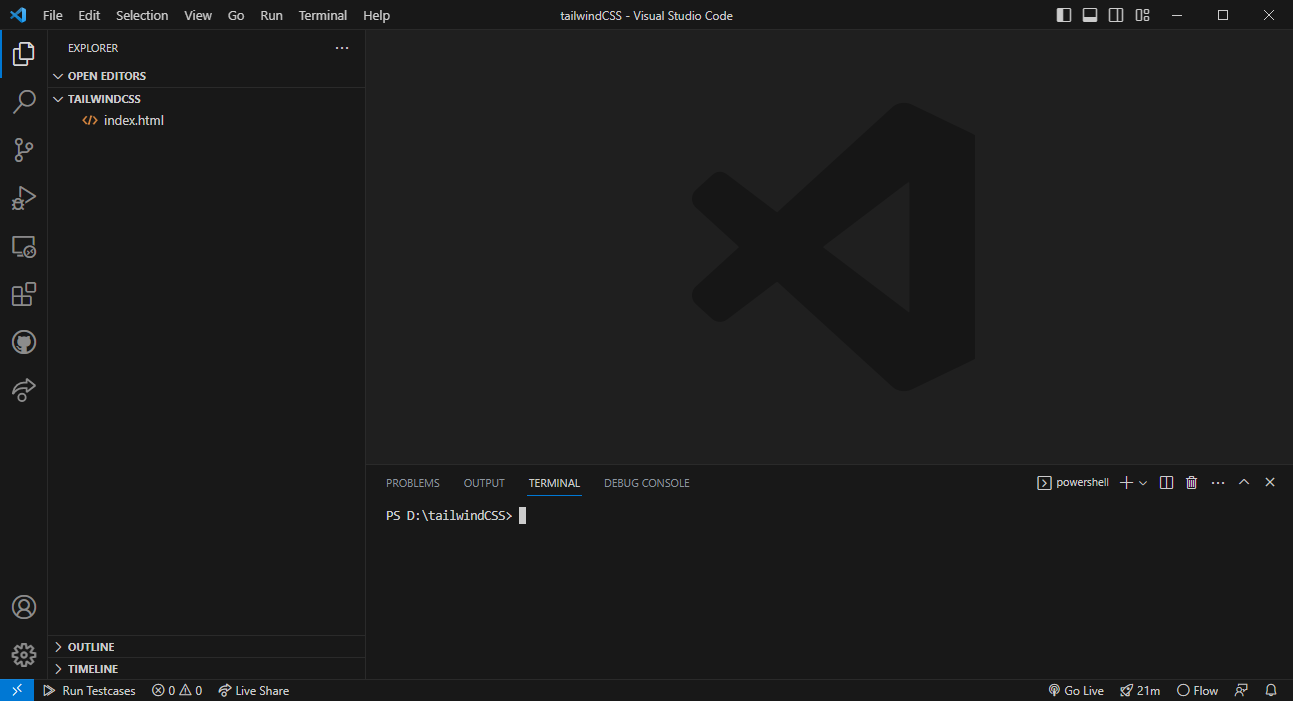
Before you begin to install Tailwind, you have to open the Terminal in the tailwindCSS folder. If you are using VSCode use the keyboard shortcut Ctrl + ', and then the terminal will appear at the bottom. You IDE will look like this:
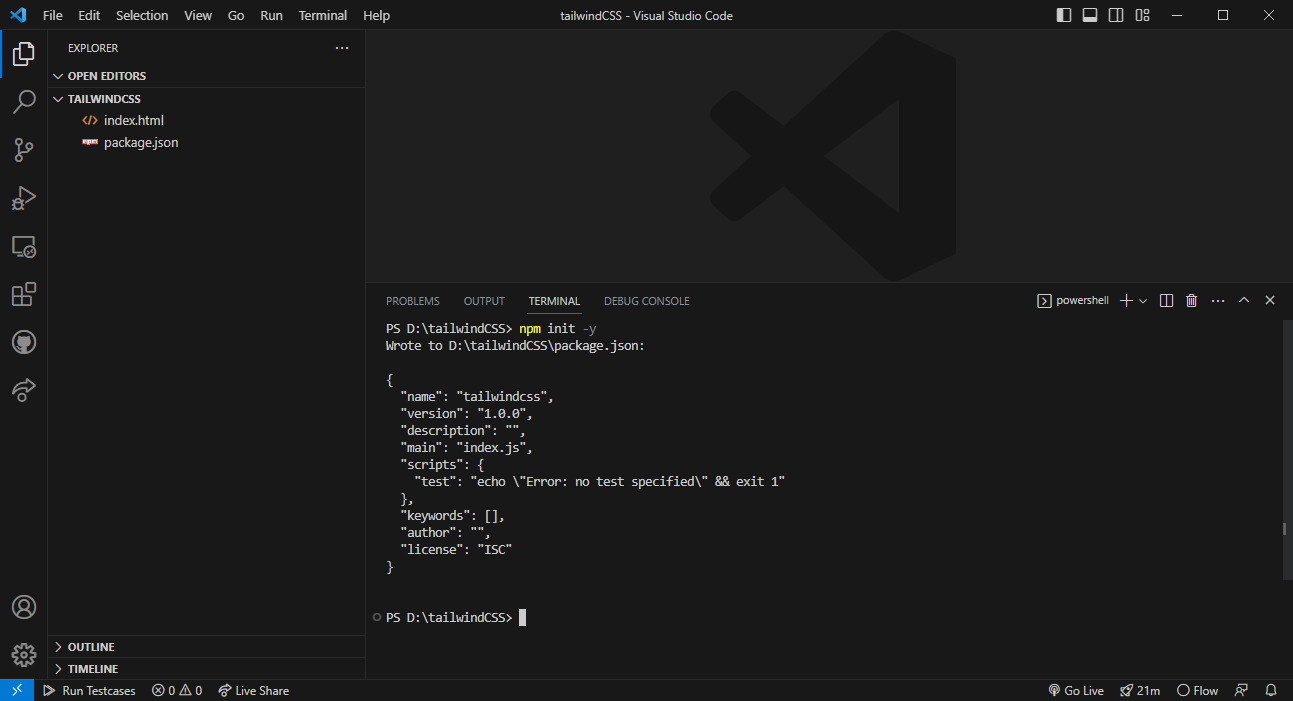
You have to initialize the application by entering the command. This command will create a package.json file.
npm init -y
Your directory will have 2 files.
Install Using npm
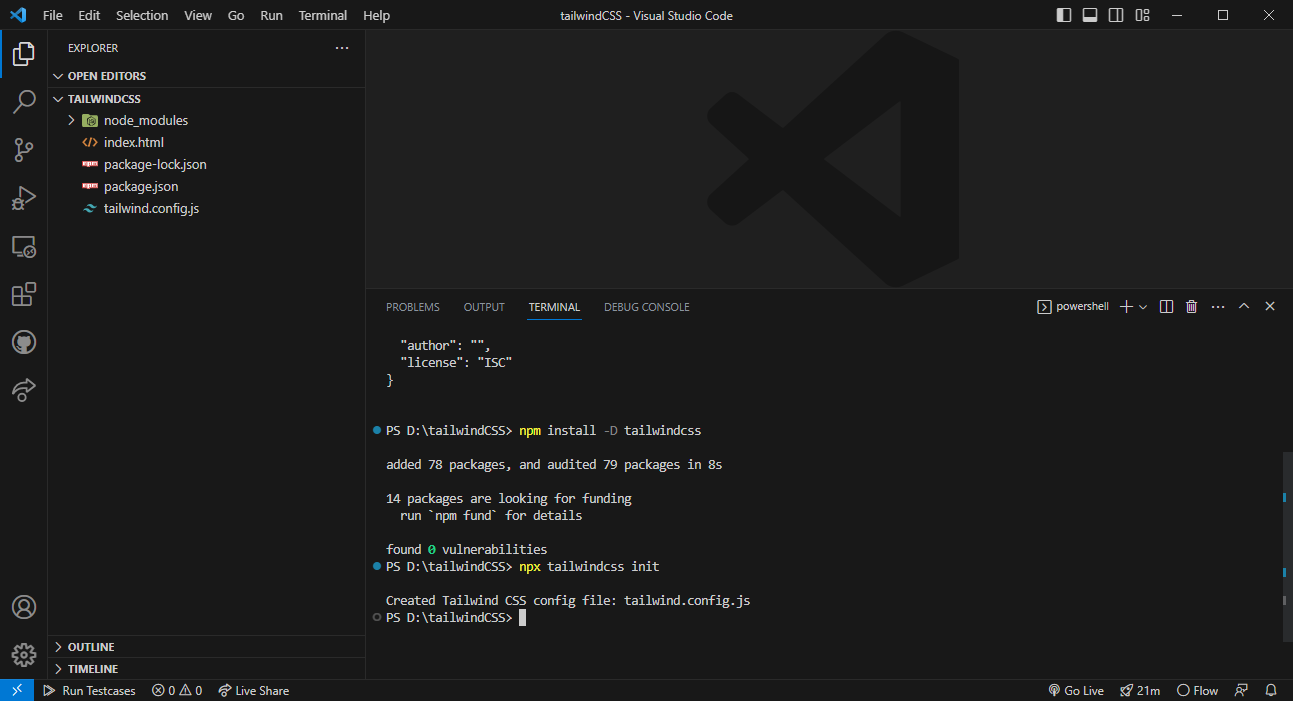
Now you are all set to install Tailwind. To install Tailwind CSS through npm, run the following command in your terminal:
npm install -D tailwindcss
The next step is to initialize tailwind in your application, run the following command in your terminal:
npx tailwindcss init
After you run these two commands, a new file named tailwind.config.js is produced in your folder( plus some other files, which are create by npm ).
Configure the template paths
Your template paths are configured in the tailwind.config.js file. Let's understand this statement.
Template file is your HTML or Javascript file in which you will add tailwind classes. Configuring the paths mean that the paths to these files(templates) are added in the content section in the tailwind.config.js file. So add the following lines in the content section:
content: [
 "./intex.html",
 "./src/**/*.{html,js}",
]
Add Tailwind Directives to CSS
For this step, you have to create a src folder(inside the root folder) and add CSS file in it. You can name it whatever you want. For this guide the name of file is index.css.
After the file is created, add the @tailwind directives for each of Tailwind’s layers to your main CSS file. This simply means adding the following lines of code:
@tailwind base;
@tailwind components;
@tailwind utilities;
These three are called directives/functions and are owned by Tailwind CSS, which is written based on PostCSS. So this is not ordinary CSS, so later before running, tailwind will first pass through this css file, and once it passes through this css file, it will run these 3 layers of tailwind, before later a new css file will be created, which is the file used by our web browser (compiled).
Start Tailwind CLI build process
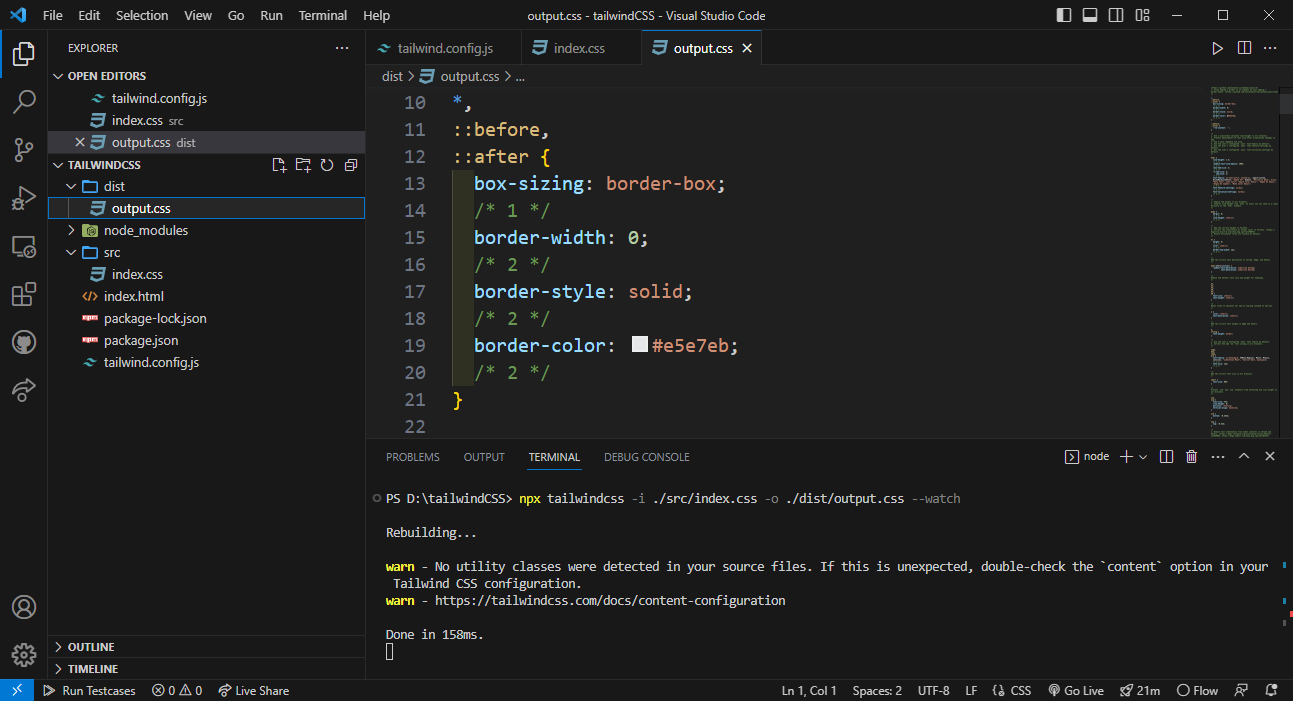
To run the build process, create final CSS file that will be used by your website. For that, execute the following command:
npx tailwindcss -i ./src/index.css -o ./dist/output.css --watch
Let us understand this command. This command will run the execution of the Tailwind application with the input file, which is written after i flag, index.css. CSS then produces the output file, output.css. --watch means is that every change will be known by tailwind, so that whatever you do in your html file will be processed immediately. That's because the tailwind feature is called the Just-in-Time engine. Later, the process will continue till it is turned off.

After the command is executed, in your tailwindCSS folder there is now a folder named dist . Inside it file called output.css , it is the result of Tailwind compiling the contents of index.css into output.css. The output.css is used on your website.
Start Using Tailwind in HTML
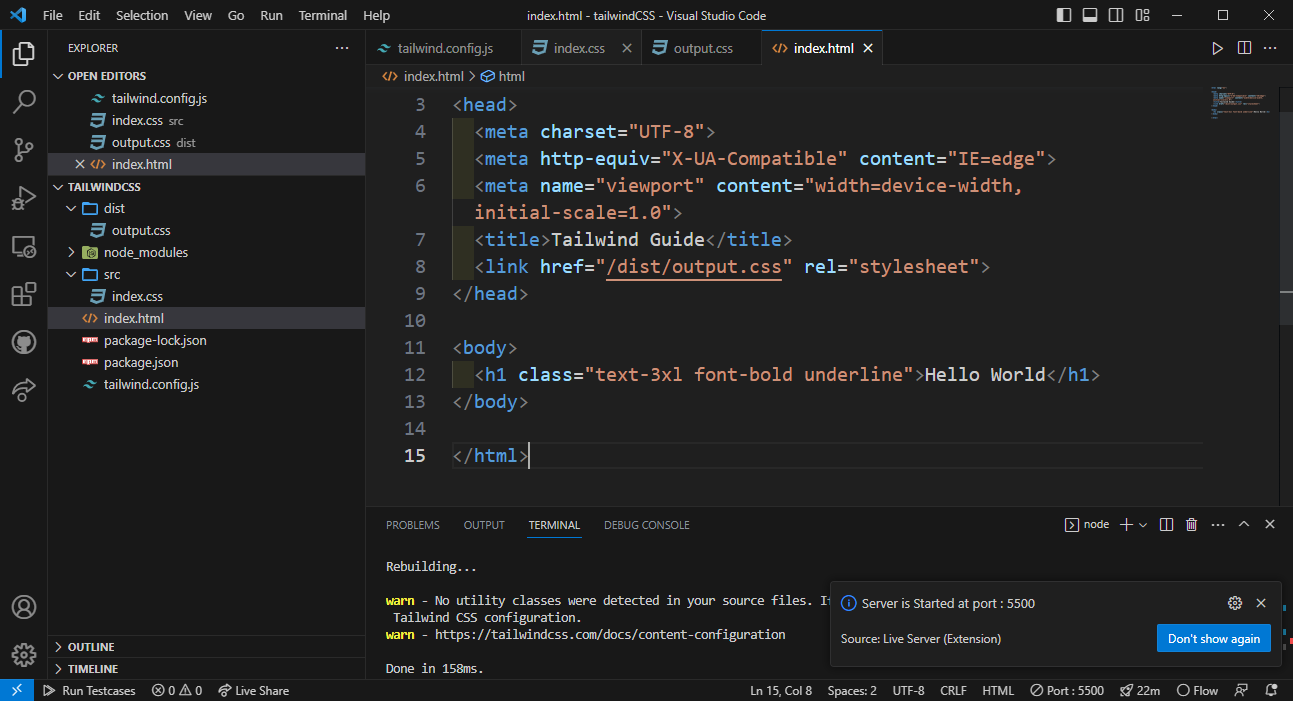
Now, in the index.html file, we add a <link> tag that points to the output file. That is, add the following instruction inside the <head>.
<link href="/dist/output.css" rel="stylesheet">
Installation of Tailwind is now complete and you can use tailwind classes to style your website.
For example add class="text-3xl font-bold underline" to the <h1> in your HTML file and notice the changes.
Result:
 References: